 Our fifth baby just turned one so it was finally time for my husband and I to invest in a baby gate.
Luckily our youngest has been a late crawler and our previous home had a full-sized door to the basement. So we haven’t needed one.
Until now.
I searched online for a bunch of different gates ranging in a bunch of different prices. But none of them caught my eye until I searched for wooden gates on Pinterest. There were beautiful gates with easy how-to instructions.
Instantly I wanted a wooden gate. The only problem was I didn’t know if I could build one and the ones to purchase online were on average $150 – too much for my taste.
 That’s when I spotted the old graffiti-laced wooden tool hanger we took down from our garage. I have been saving it for months and had big plans of turning it into a piece of Subway art in my living room. But it was bigger than I thought and I couldn’t decide what wall to put it on or what saying to put on it.
So I left it in my garage until last week. When I held it up to the top of my staircase and discovered that it fit the space perfectly. Suddenly project wooden baby gate was born.
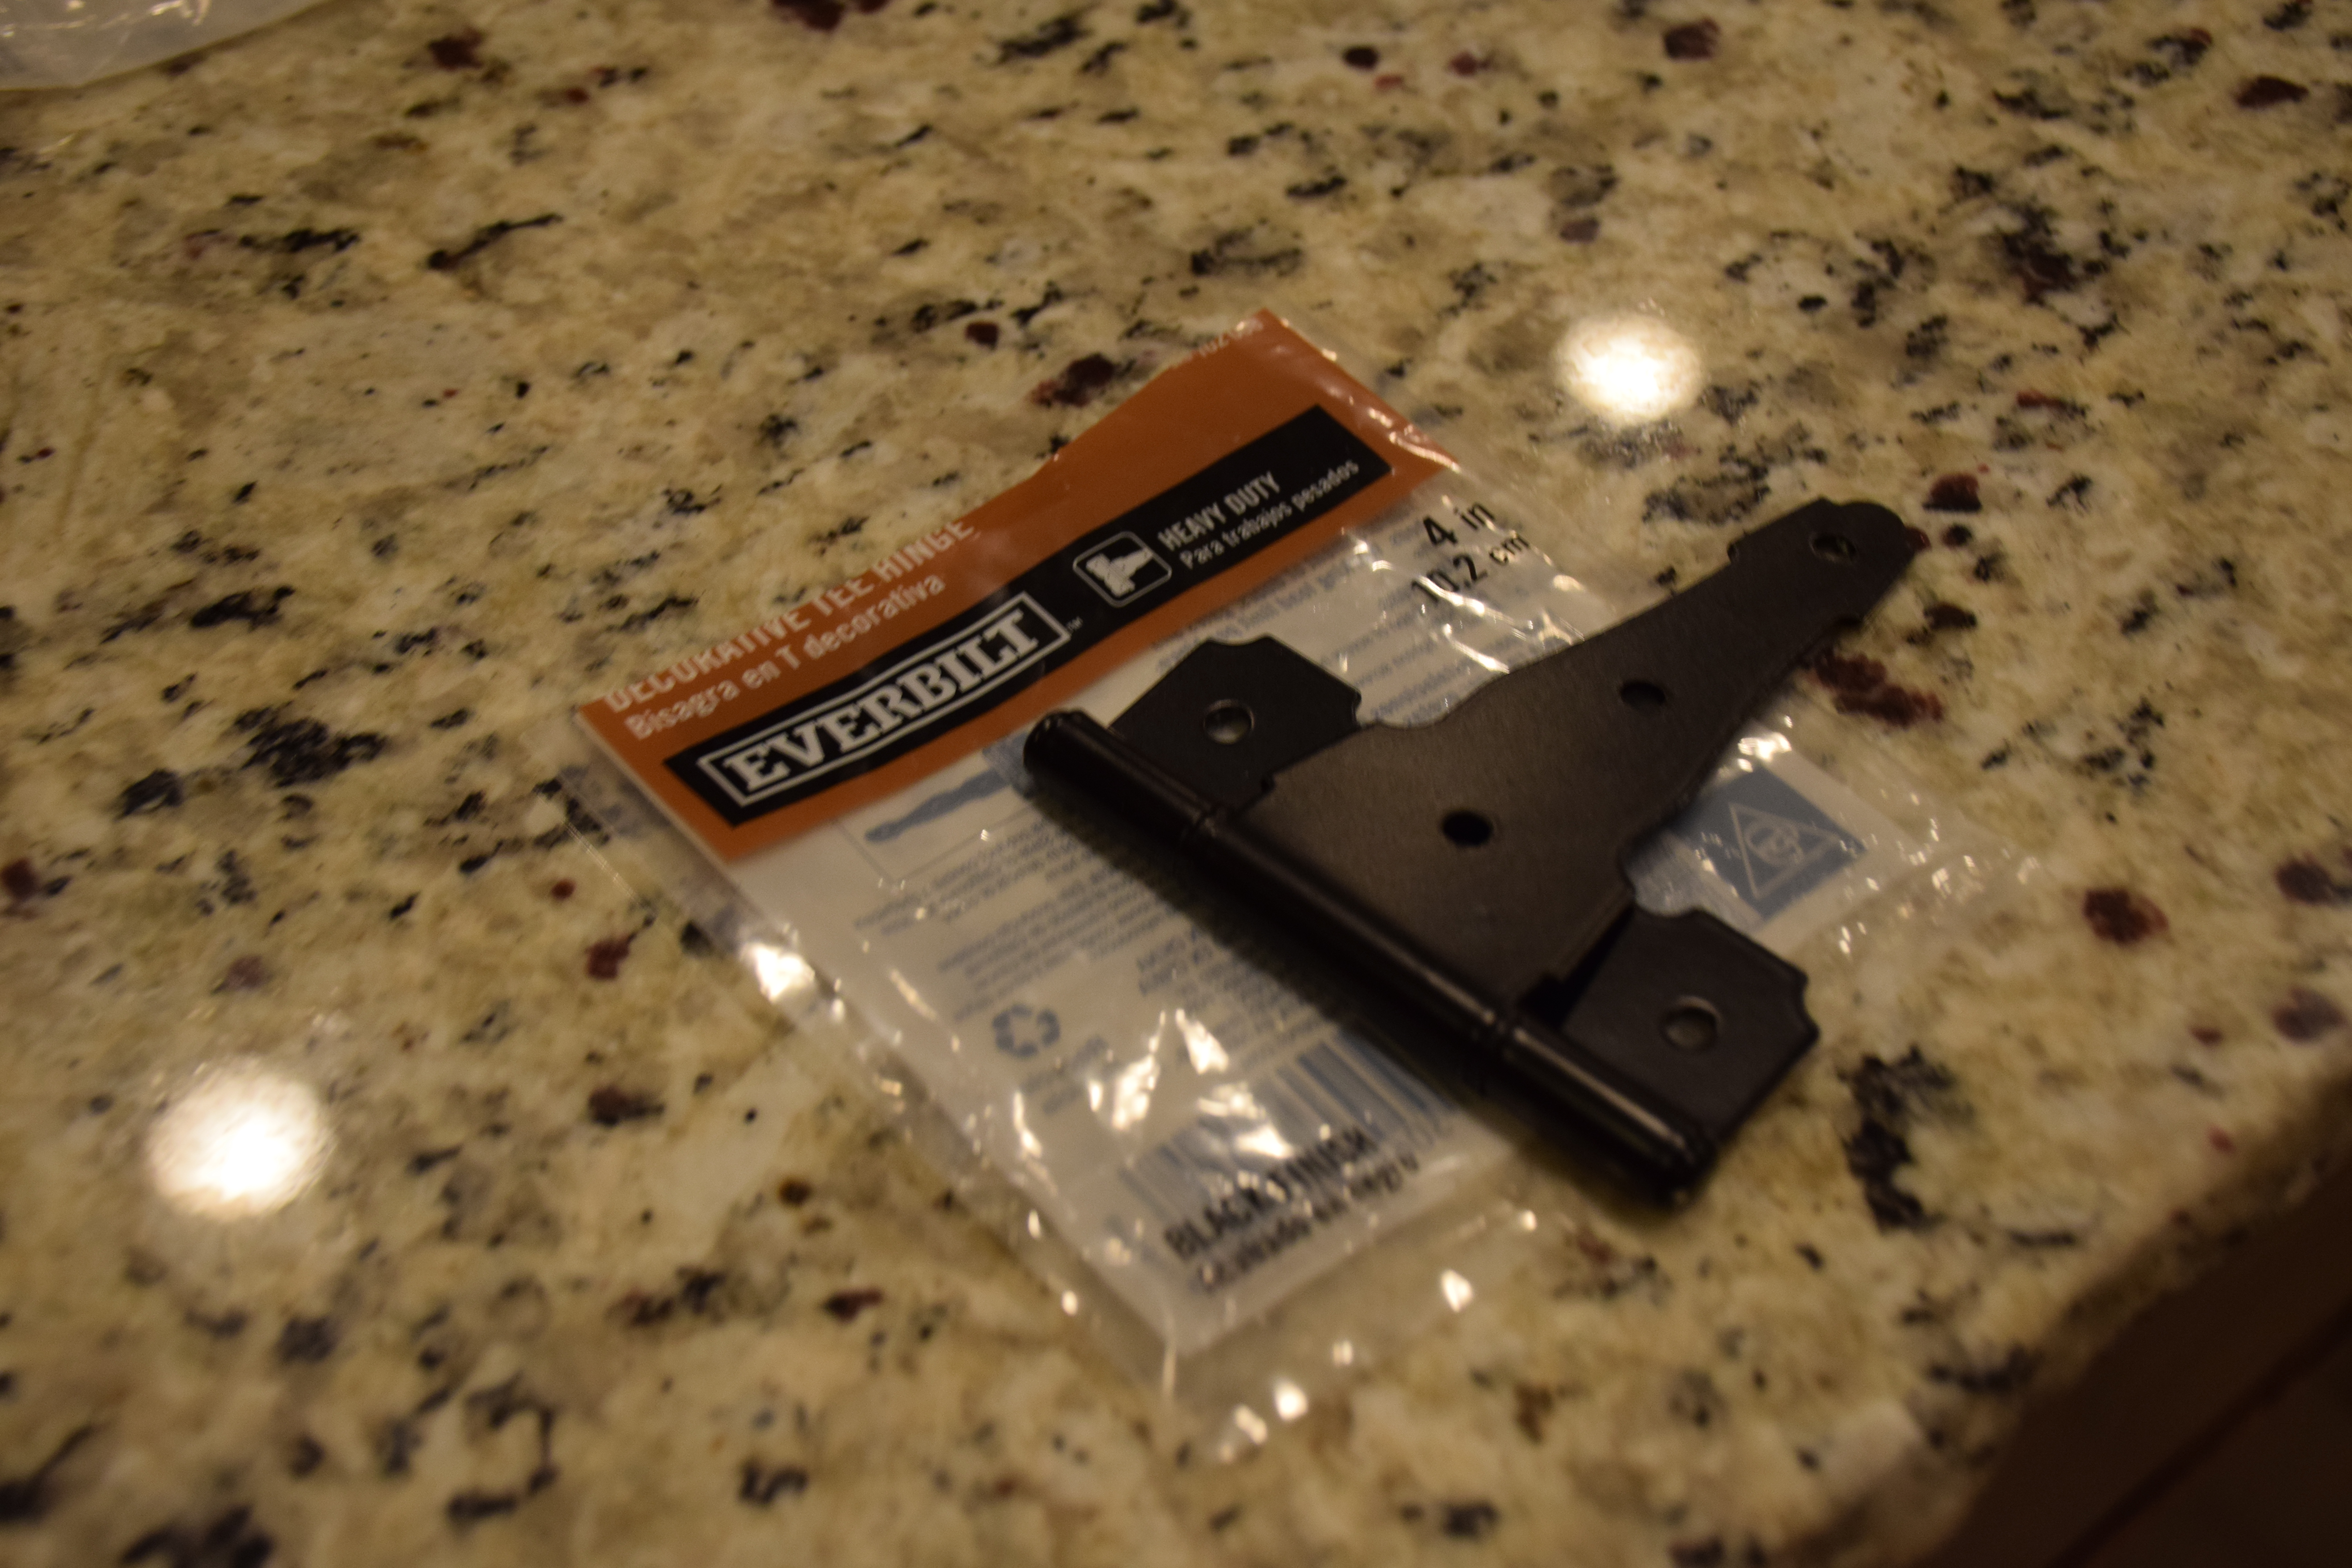
My husband and I took a trip to Home Depot where we purchased two 4-inch heavy-duty hinges, a heavy duty latch, some 14″ black zip ties and a 4-inch wide piece of lumber.

I wanted the to gate to match my new red barstools so my husband took one of them apart and I took its leg into Home Depot and had them match the color. I bought a quart of paint and got busy.


 I painted the front and back of the wooden tool hanger – with the help of my three-year-old of course. We covered up that weird mask-faced smile in the corner of the wood.
Then we waited for it to dry.
Last night my husband marked the wood where the hinge would go then predrilled holes for the screws. Then he attached hinges to the top and bottom of the wood.

Then he used a stud finder to locate the closest stud on the wall next to the staircase. He marked the stud with a straight line on the wall by using a level and marked where the holes for the hinge would go. Then he pre-drilled those holes too.

It took us a couple of tries to figure out how we wanted the door to swing. We ended up mounting the hinges to the wall with the hinge flush to the wall. Then we attached the hinges to the red gate. It swings beautifully.
Next my husband took two 14-inch black zip ties and hooked them together. Then he wrapped around the post of our banister and the piece of lumber we bought at Home Depot. I painted that red as well.


He wrapped twist ties around the top and the bottom of the post to make it more secure. The piece of wood allowed him to fasten the gate’s latch to the wood without drilling into our post – that way we can easily remove the gate some day.

Finally he added the latch.
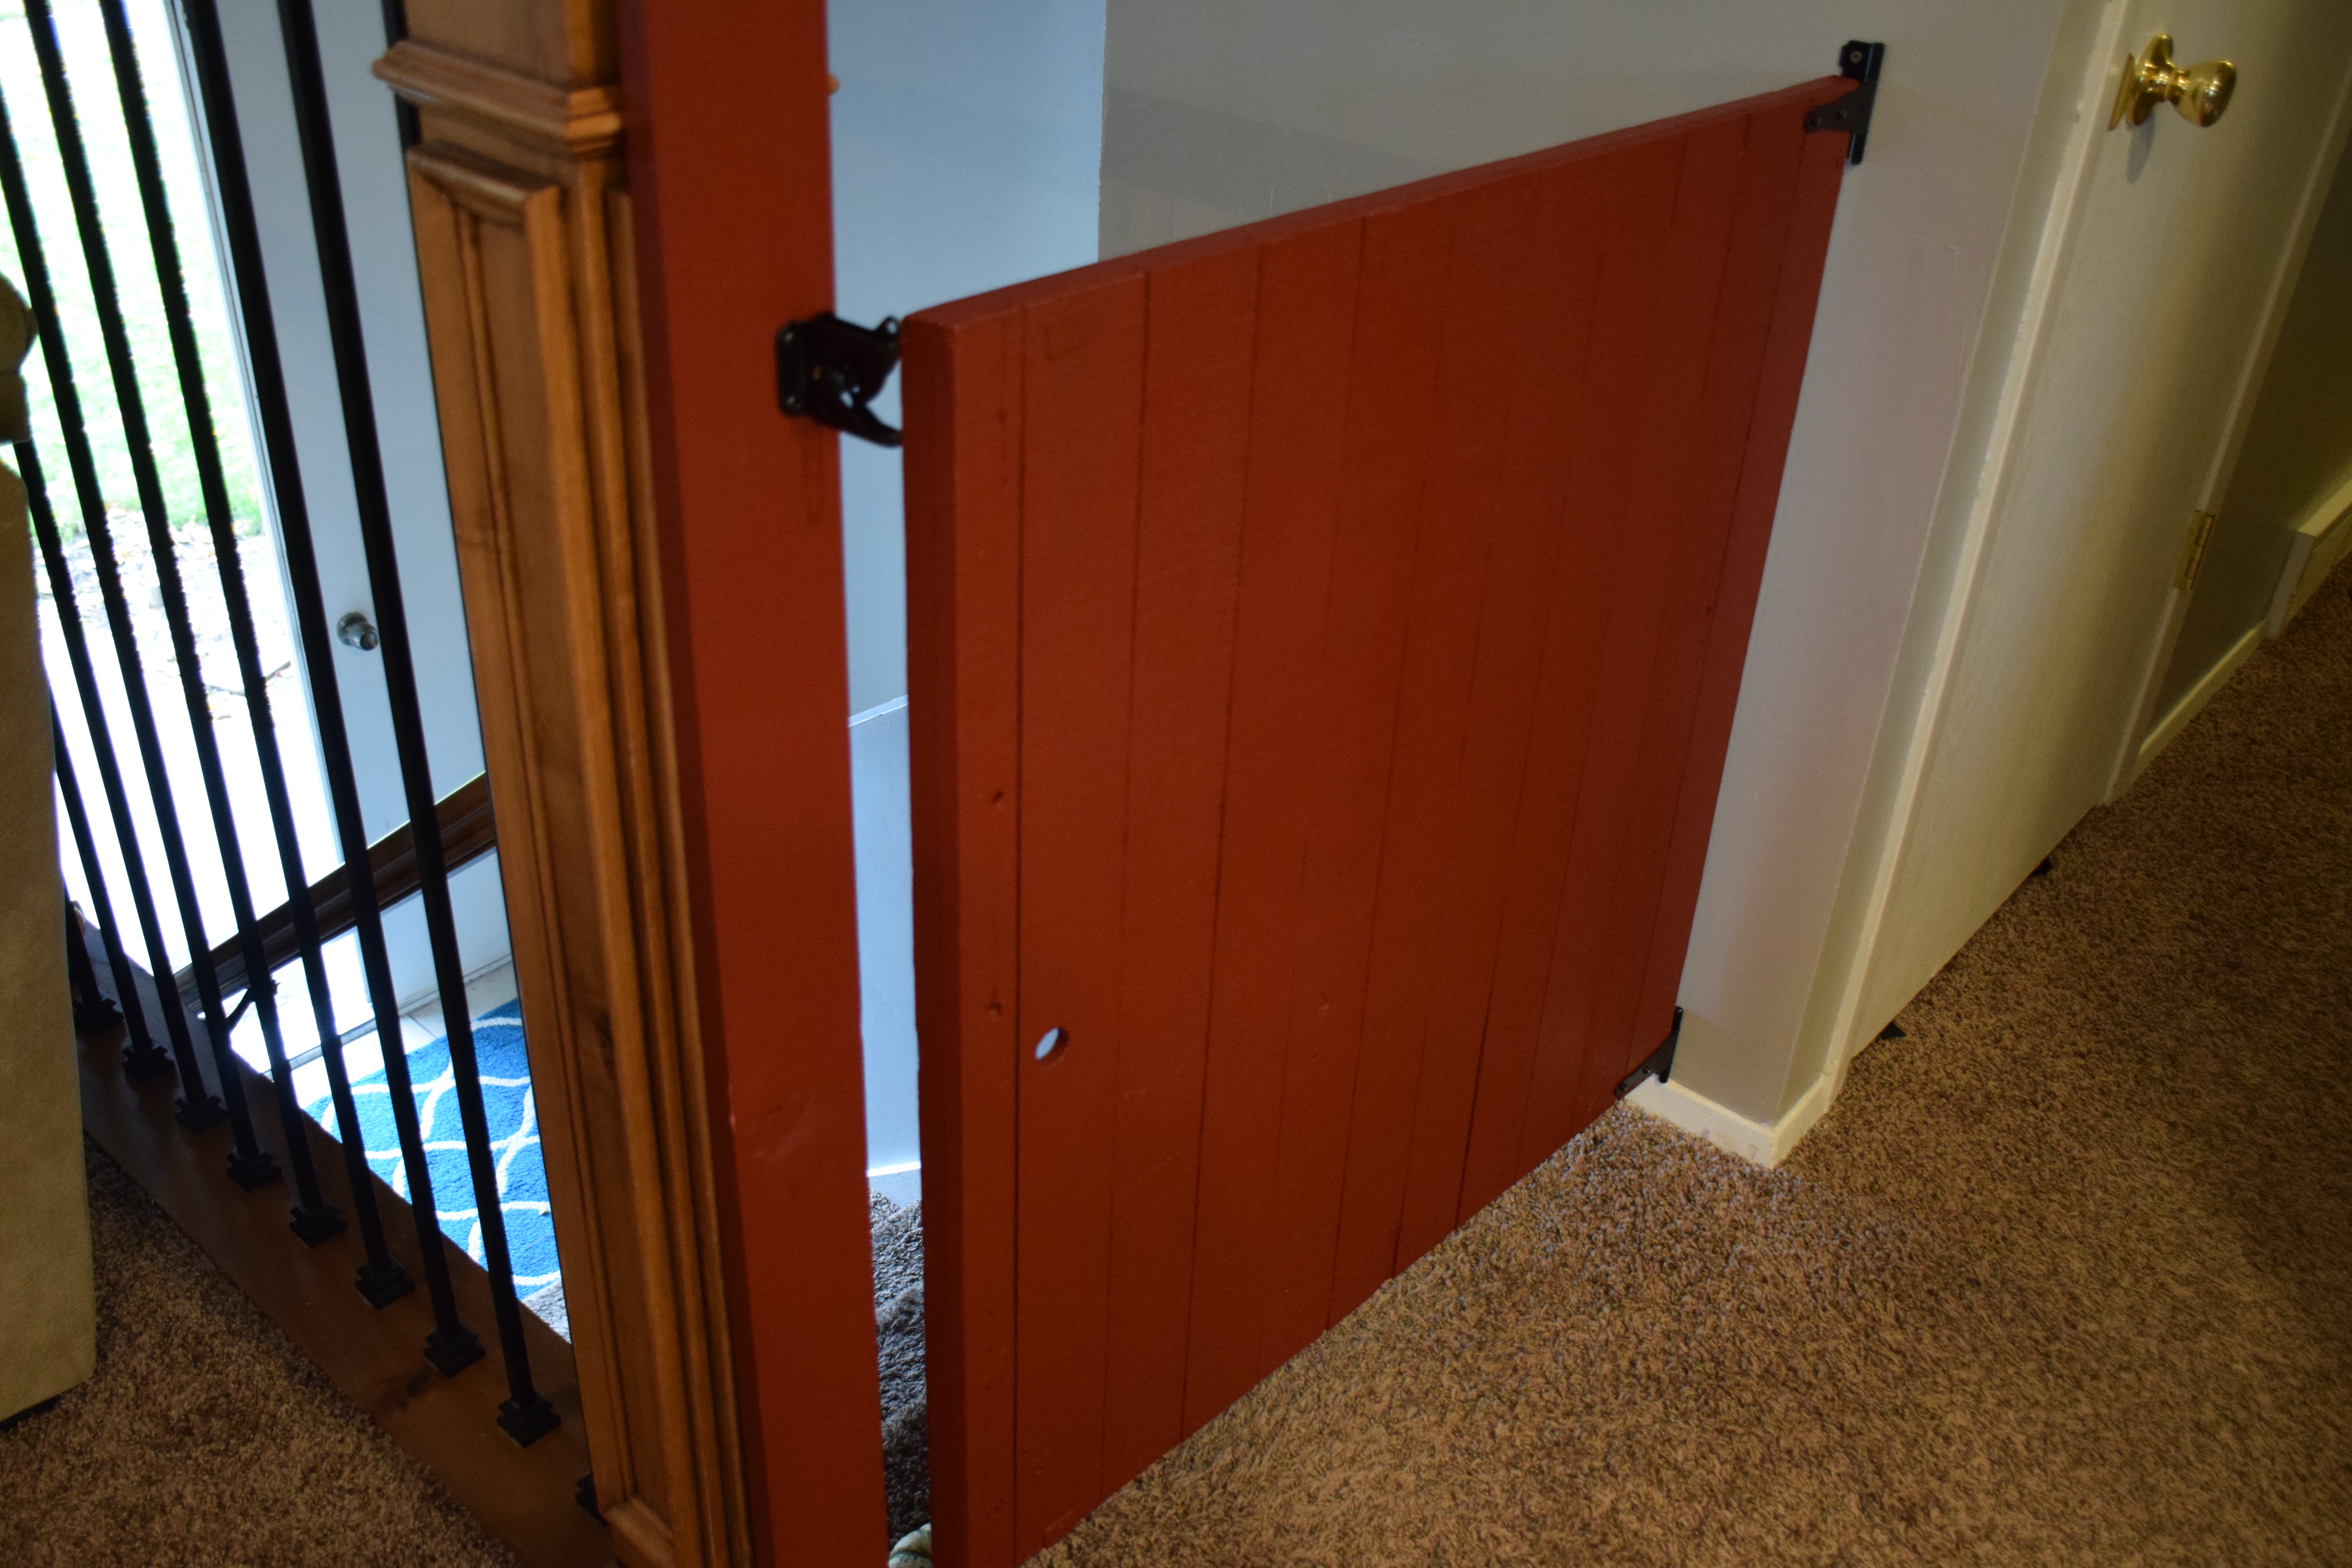
It looks amazing and swings beautifully. And the whole thing cost less than $30.
Wahoo! We did it. I am so happy. Now I have one less thing to worry about.


